Hellraiser Revival restricts how much you can carry at once, but the game provides a way to increase your inventory capacity. Scattered throughout the campaign are six Inventory Upgrade Bags, each one permanently expanding the amount of items you can hold. Collecting all of them requires careful exploration and knowledge of where to look, as some are well-hidden or locked behind puzzles and locked doors.
Early Game Upgrades
The first inventory upgrade bag appears in the security area before you enter the main club. You will pass through this hallway earlier in the game when the main doors are still locked, forcing you to find an alternate route around. Once you can access the area properly, head to the main hall where you will encounter cult members in prayer and others on patrol. Clear out the enemies, then follow the corridor in the direction the statue's left hand is pointing. This path leads to a locked door that requires a duck key card, but there is also a separate door opening into the security room. Search the drawer inside this room to find the first upgrade bag.
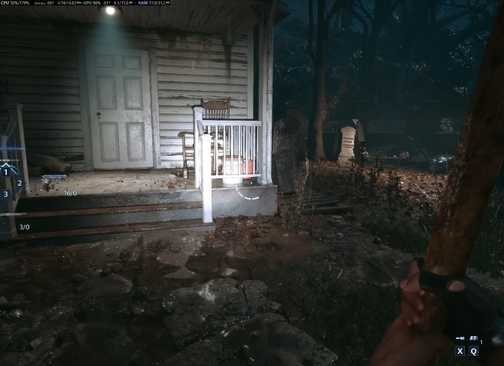
The second bag is located in a cabin within the cemetery. After obtaining the van's key and being pursued by an eerie creature through the woods, you will arrive at the cemetery and encounter the merchant again. Look for the wide stairs on the east side of the cemetery and climb them to reach a small cabin. Inside the bedroom, a blue locker sits just beside the door. Open it to find the inventory upgrade bag positioned next to a box. The bag is tucked away at the side of the box and is easy to miss without the hint prompt alerting you to its presence.
Mid-Game Locations
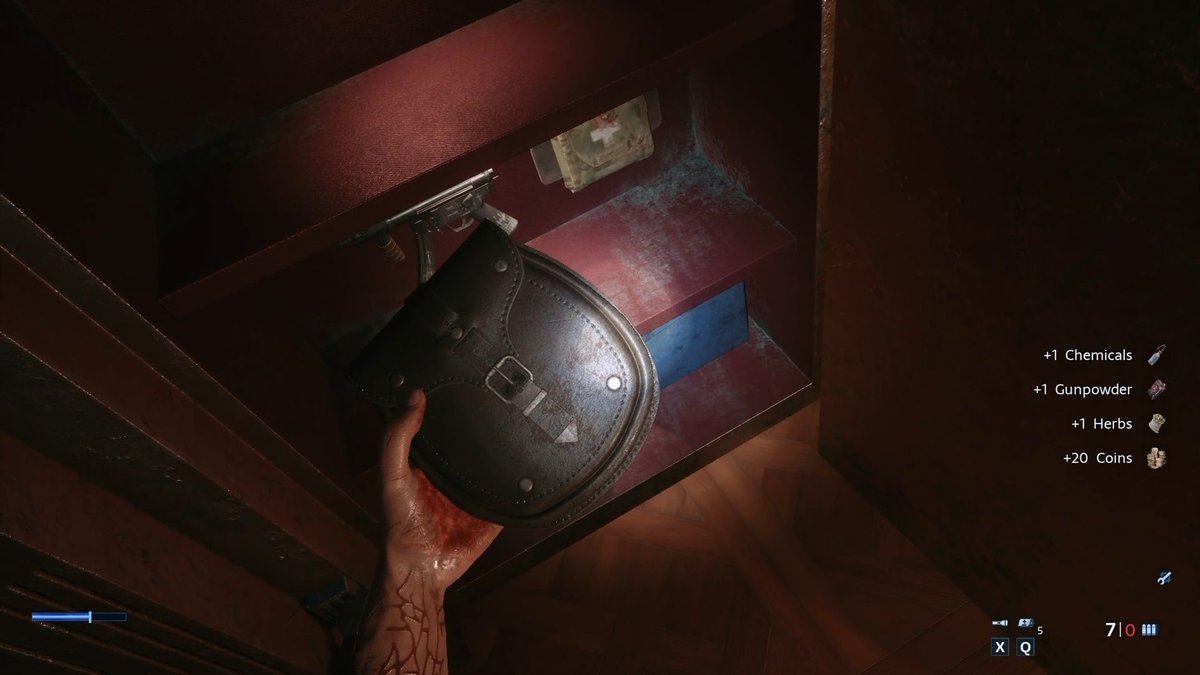
The third upgrade bag requires progression through a mansion section. When you meet the merchant again outside the woods, she stands near three gates, each requiring a missing piece to open. The first gate needs a hand, which you obtain by following the wide staircase toward the mansion. Since the main doors are blocked, you must take the basement route and fight through enemies until you find an elevator leading inside. On the second floor, locate the CEO room containing a large safe. The inventory upgrade bag is inside this safe, but you must solve its puzzle first. Arrange three colored triangles on the bottom-left disk next to each other, then place one colored triangle on the bottom-right disk. Rotate the two bottom disks to reach the final pattern and unlock the safe.
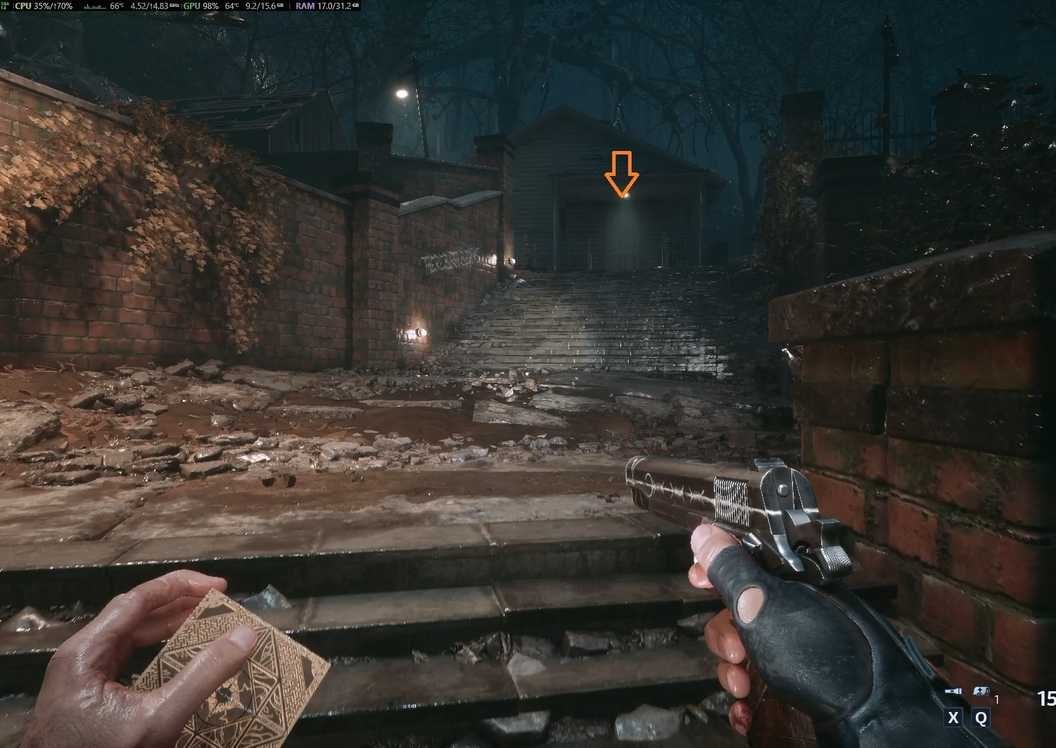
The fourth bag appears after you find the head statue and open its corresponding gate. Your objective involves collecting three golden cubes and opening a path into a well, but resist entering the well immediately. When you first pass through the gate and speak to the bald lady, enemies will spawn. Defeat them, proceed through a smaller gate, and before reaching the well, make a hard right turn up the sloped route. This leads to a gazebo with a corpse hanging from the ceiling. On the opposite side of the gazebo stands a wooden shack containing a safe that requires lockpicking. If you lack a lockpick, return to the merchant and purchase one. Adjust the lockpick to approximately eleven o'clock to open the safe and claim the inventory upgrade bag inside.
Late Game Bags
The fifth upgrade bag is found during a boss encounter at the club. After opening the main club doors, you enter a large hall where a flying lady known as the Sister of Mercy is present. This first phase requires stealth rather than direct combat. Once the cinematic ends and you regain control of Aidan, head left immediately. Use cover and throw bottles to distract the Sister of Mercy, directing her attention away from your position. A wooden drawer blocks your path; remove it and continue until you reach a dead-end beneath a staircase. Turn around to spot the inventory upgrade bag attached to the back of a chair in front of you. Grab it, then backtrack to the beginning area and take the right path this time to complete the mission.
The final inventory upgrade bag is located in a locked room in the area where you meet the merchant again. The merchant occupies a room inside a narrow alley. When you exit her room, turn left and you will see a room entrance at the end of the alley, but do not enter through that door. Instead, turn right just before the door and crouch through a smaller passage. This leads to a locked door requiring a four-digit code. The code is 1362. When the door opens, a bear trap sits right at the entrance; pick it up and throw it away before proceeding. The inventory upgrade bag rests on a corpse lying on the ground inside. It is difficult to spot because the bag is positioned at the back of the corpse, but looking at the corpse's belly will trigger the prompt to collect it.
Collecting all six inventory upgrade bags throughout your playthrough of Hellraiser Revival ensures you have maximum carrying capacity for the entire game. Some bags require solving puzzles or lockpicking, while others demand careful navigation through combat encounters or stealth sections. Planning your exploration route to grab these bags early can make inventory management easier as you progress through the campaign.
Related Articles
About the Author